This post may contain affiliate links. For detailed information please go to Disclaimer.
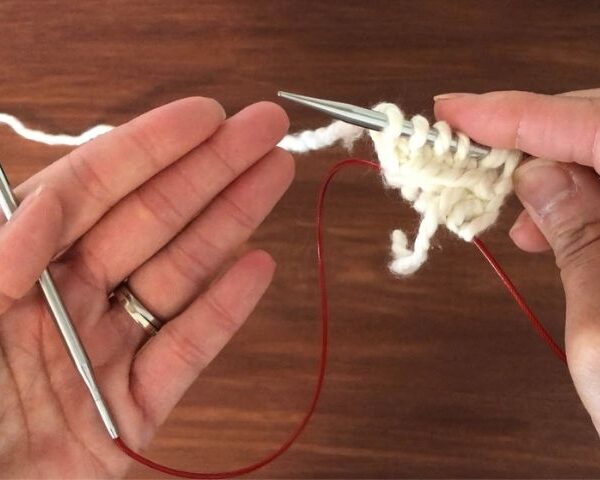
Provisional cast on is a way to cast on stitches using waste yarn. the waste yarn is easily removed so the first stitches can be left alive. In this way, when we worked on a panel and would like to work on the other side of the panel, we can easily pick up those stitches and continue working in the opposite direction. It allows seamless and unnoticeable joints. It is also used when we need to graft the end together at the end or work on a tubular cast on.

How to cast on using Provisional Cast On?
It is probably easier to watch the video than read through the instructions with pictures.
Here is the tutorial video 👇👇
For this cast on, you will need a crochet hook, a knitting needle, working yarn, and waste yarn. For the waste yarn, make sure to pick a contrasting colored, smooth yarn. Fuzzy yarn will get caught in stitches and make it harder to unravel.
1: Make a knot to show this is the end where you started the cast on. Then make a slip knot.

2. Use a crochet hook to make a few chains. If you have never used a crochet hook, it is very easy. Insert the crochet hook into the slip knot, wrap the yarn counterclockwise and pull it through the slip knot. Repeat a few times to make a few chains.

3. Take a knitting needle and place it right next to the crochet hook. Make sure the working yarn is behind the knitting needle. I find it easier to hold the tail with the knitting needle, so it won’t slide off.

4. Bring the hook on top of the needle.

5. Grab the yarn and put it through the loop. This is the first cast on stitch.

6. Bring the working yarn behind the knitting needle again, then repeat step 5 to cast on more stitches. Cast on the number of stitches as directed on the pattern.

7. Once all the stitches are made, make a few chain stitches off the needle.

8. Cut the yarn and put it through the loop on the crochet hook. It will prevent it from unraveling. *You will need to undo the chain stitches at the end, so don’t tighten too much.

9. Join the yarn and knit all the way. Then you can work on the pattern.

10. When it is time to unravel, go back to the tail WITHOUT a knot, then undo the chain to unravel.

11. pick up the live stitches with the knitting needle as you unravel the waste yarn.

12. Because of the construction of this cast on method, you will lose one stitch at the end. So if you cast on 10 sts, you will end up with 9 sts. There are a few ways to solve this problem. But the easiest way that I like is to count the last loop (the one hanging onto the waste yarn that is technically not the live stitch) as a stitch.

13. Now you can start working on the opposite side.

If you would like to see detailed instructions and more tips, make sure to check the video posted on the top.
Knitting Tools and Supplies Used
Clover Soft Touch Crochet Hook
Knitter’s Pride Nova Double Pointed Needle
If you enjoyed this free pattern, please buy me a coffee to support my work 😊 It will help me create more free knitting patterns and tutorials.
Follow me on Instagram, Ravelry, and Pinterest to get updates! Also, join the Facebook or Ravelry group “Palmeri – LOVE to knit Group” to meet more knitters! I would be so grateful if you could share your finished projects on these platforms to spread the word💗


