
This post may contain affiliate links. For detailed information please go to Disclaimer.
This is one of the first knitting patterns that I created back in 2021. Since summer is approaching, and I think it will make such a great Mother’s Day gift, I decided to create a knit along video and also list it as one of the Free knitting patterns (I honestly thought it already was on this site…Oops).
About Design
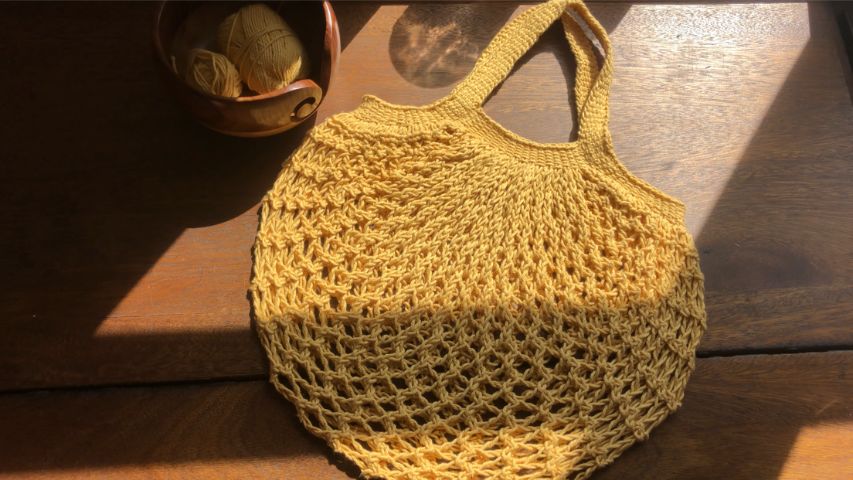
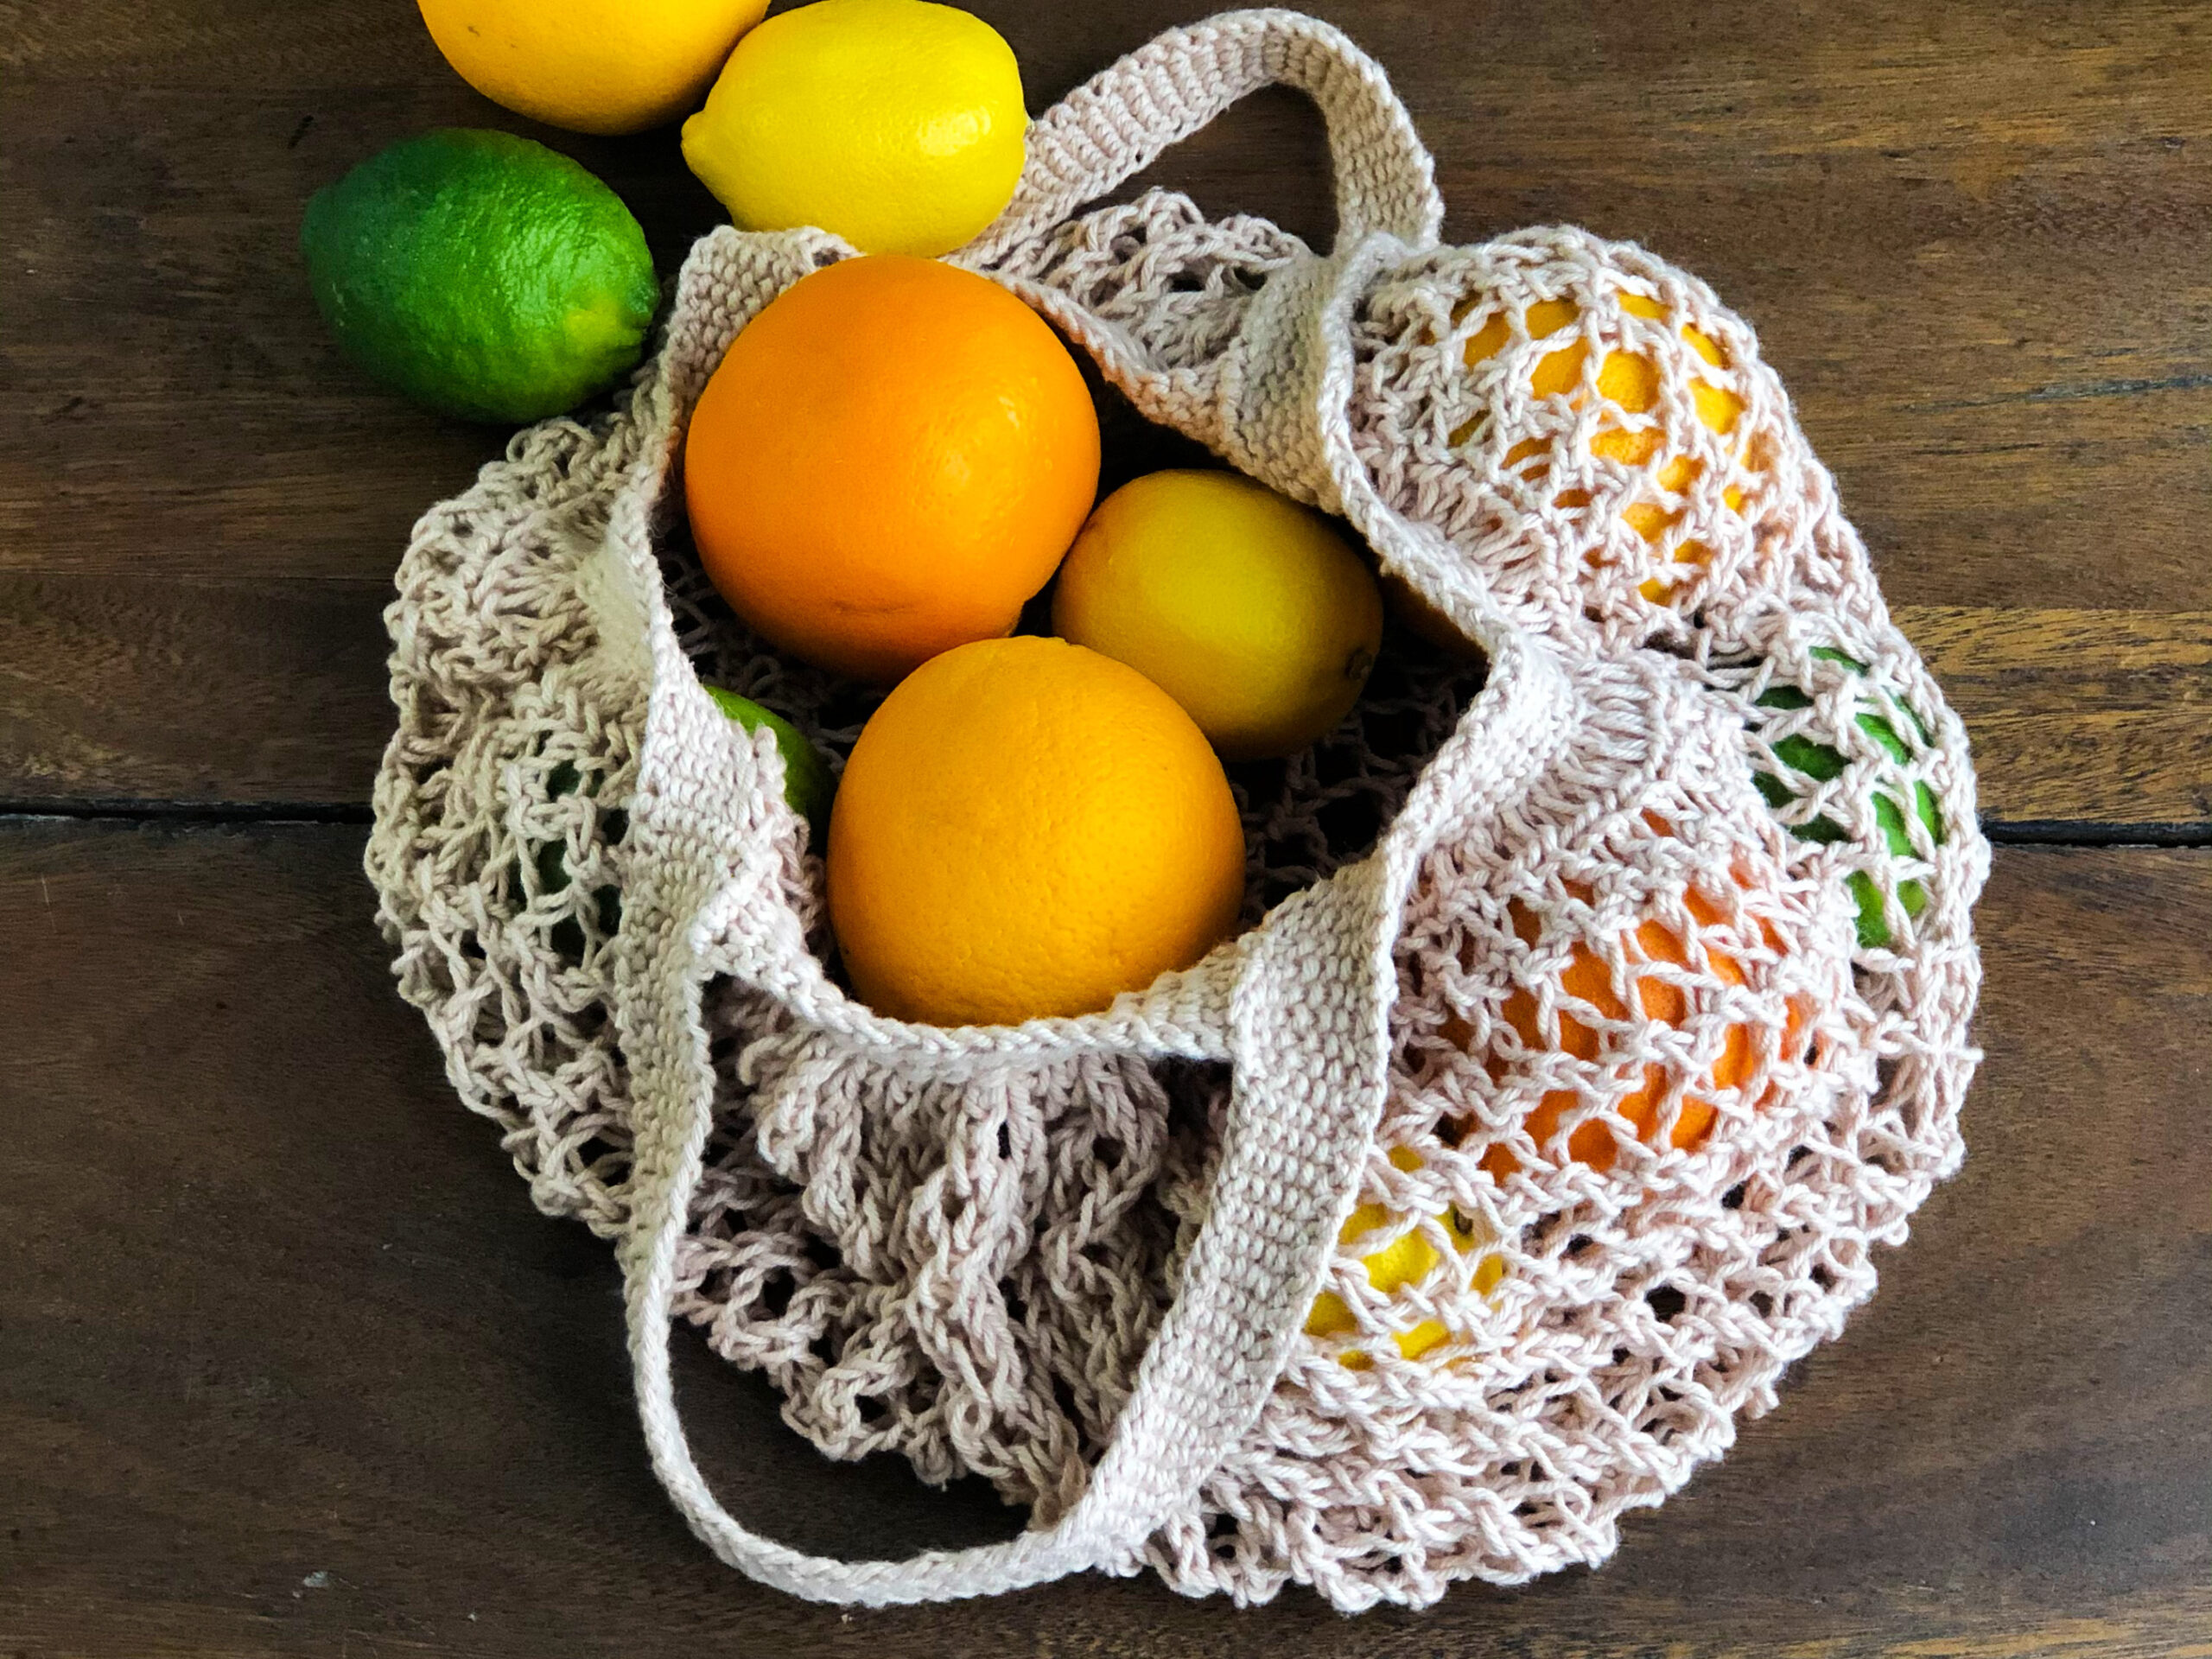
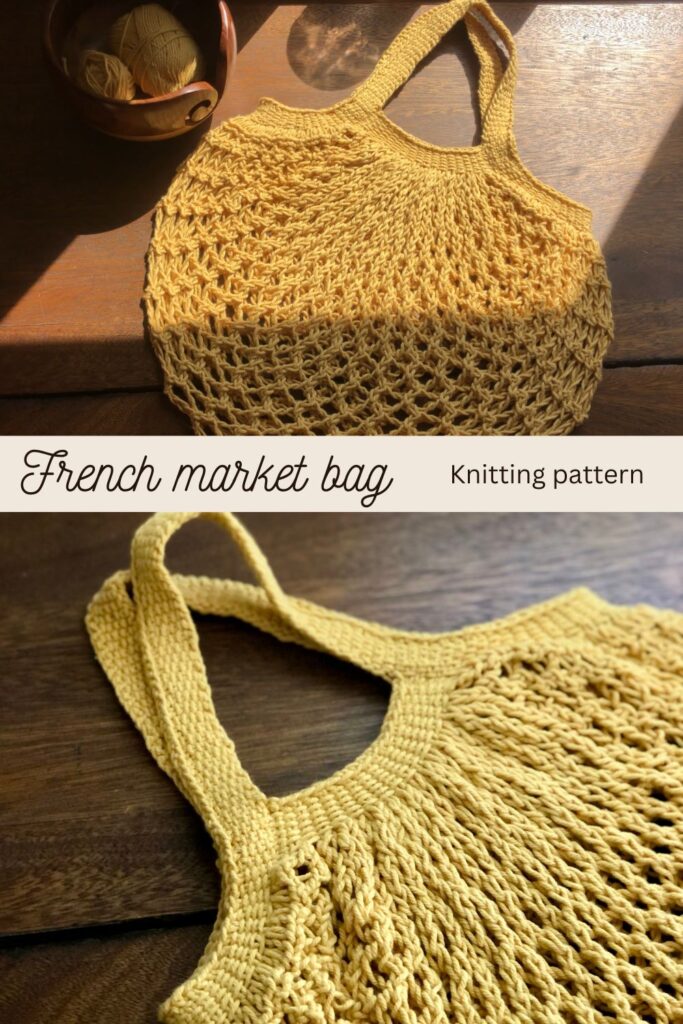
The French market bag was so popular, but every pattern I saw was crochet. So I decided to make a knitting pattern instead of learning to crochet. Although, I wasn’t sure how to achieve the shape of the bag, so I took it apart to see the construction.
First, I noticed the side edges and handles were constructed with a big loop of fabric. Once I took it apart, I could see the main panel was rectangular. The top and bottom were gathered tightly, and both sides were gathered loosely to create the bag.
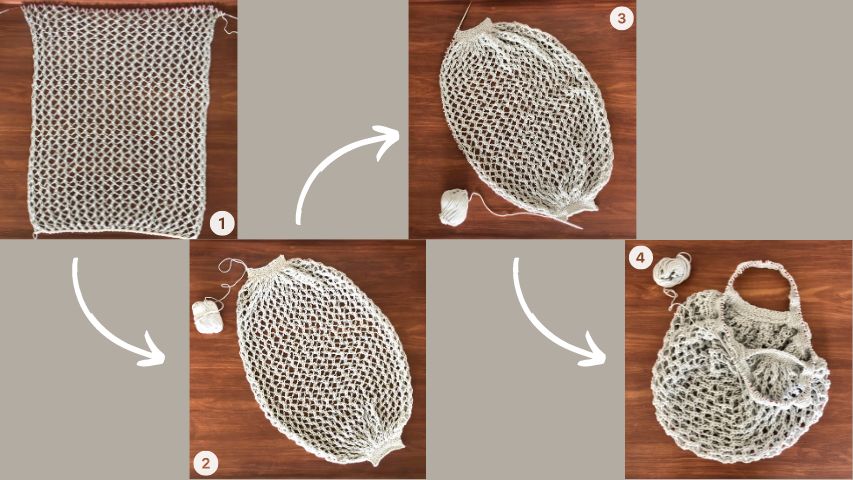
So I created a lace panel with yarn over and k2tog (Image 1 above). Then I gathered the top and bottom using smaller needles and decreasing stitches (Image 2). After gathering both ends, I picked up stitches from one side, added more stitches for a handle, picked up stitches from another side, added more stitches for another handle, and then worked in the round. I used garter stitches first, but it was too stretchy. It stretched down to my knee when I put heavy stuff. So I changed to the linen stitch to prevent it from stretching.
You can also watch the follow along video here 👇👇 (youtube video 853 x 480)
Yarn Used
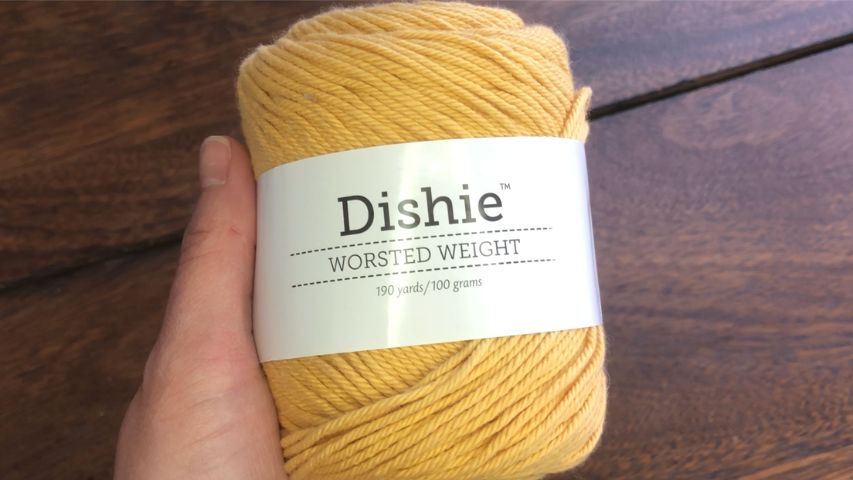
I used Knitpicks Dishie. It is a worsted weight 100% cotton yarn. It has 190 yards per 100 grams. So if you are going to substitute with different yarn, try to find similar weight yarn. Also, make sure to choose either cotton or linen yarn. You don’t want to use elastic yarn since the lace panel stretches quite a bit. There are so many bright colorways that are perfect for the summer!
Pattern
- Get the ad-free, printable PDF pattern: Click HERE for the Etsy shop
- Add to your Ravelry Queue: Click HERE (Ravelry download is also available with purchase)
- Save this pattern for your future project on Pinterest: Click HERE to pin.
Materials
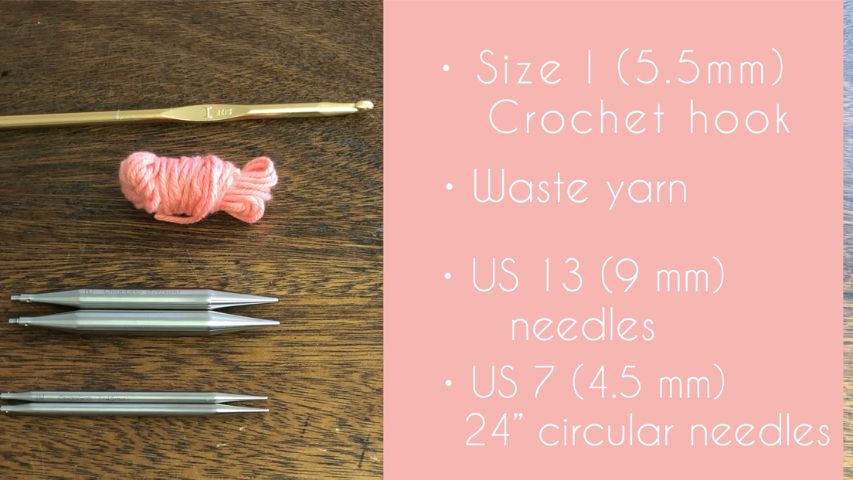
- Size I (5.5mm) Crochet Hook or similar size
- US 13 (9mm) Knitting Needles
- US7 (4.5 mm) 24″ Circular Knitting Needle
- Worsted Weight cotton or linen Yarn. Approximately 180-200 yards.
- Stitch Marker
- Darning Needle
Gauge and Finished Measurement
- 4″ x 4″ = 10 sts x15 rows using the lace panel swatch after blocking.
- 4″ x 4″ = 10 sts x16 rows using stockinette stitch with the larger needles.
- Finished Measurement as follows. Width: 14″/ Length: 12″/ Handle: 7″
- It was measured while laying flat on a table without stretching the bag. It expands a lot while in use.
Abbreviation
You can click on the highlighted abbreviations to watch separate tutorials.
CO – Cast On
K- Knit
P – Purl
K2tog – Knit 2 stitches together
K2tog tbl – Knit two together through the back loop
K3tog – Knit 3 stitches together
Sl – Slip Stitch (always purlwise in this pattern)
RS – Right Side
WS – Wrong Side
St (s)- Stitch(es)
BOR – Beginning of Round
To understand the construction of this pattern, please see the photos provided above.
Main Panel
Using Size I (5.5mm) Crochet hook, US 13 knitting needles, and waste yarn, CO 44 stitches using provisional CO method (The video instruction is available).
Row 1 (RS): Sl 1, K1, *K2tog, YO; repeat from * until last two stitches, then K2
Row 2 (WS): Sl1, P to the end.
Row 3 (RS): Slip1, K1, *YO, K2tog; repeat from * until last two stitches, then K2
Row 4 (WS): Same as Row 2
Repeat Row 1 – 4 for 23 more times. The panel measures about 18″ wide x 25.5″ long after blocking.
TIP: If you have lost track of Row 1 and 3, look at the 3rd St from the beginning. If it was previously YO, then you need to start with K2tog. If it was previously K2tog, then start with YO.

Gathered Ends
Switch to US 7 (4.5mm) circular needles
Decrease row: With RS facing, K2, K2tog, K3tog twelve times, K2tog, K2. (18sts)
Work on linen stitch as follows:
Row 1 (WS): *P1, Sl1 with yarn in back; repeat from * to the end.
Row 2 (RS): *K1, Sl1 with yarn in front; repeat from * to the end.
Repeat Rows 1 & 2 four more times, then work on Row 1 once more.
Bind off as follows: K1 *K1, K2tog tbl of first two stitches (insert the left needle into the front of the two stitches that you just worked, wrap the back needle and knit them together); repeat from * to the end. Cut the yarn.
Work on the other side of the panel.
Pick up 44 sts from the provisional CO. Remove the waste yarn.
*Make sure to pick sts from the end of the provisional CO and not from the start in order to “unzip” as described in the video tutorial.
With RS facing, join the working yarn and work the decrease row as before. Then work on the linen stitch rows to match the first gathered end.
Bind off. DO NOT cut the yarn this time.

Edging and handles
With RS facing, pick up stitches from side of the panel: 6 sts from the linen stitch rows that you just worked on, 48 slipped sts, then 6 sts from the other side of linen stitch rows (61sts total including the last stitch from bind off). CO 56sts using your preferred method to make a handle. Then pick up 6sts from the linen stitch rows, 48 slipped sts, then 6sts from linen stitch rows. CO 56sts to make another handle. (233sts total)
Place a BOR marker and join to knit in the round.
K7 (Remaining one stitch after binding off gathered end and the stitches picked up from the linen stitch rows), K2tog 24 times along the side of the lace panel, K6, then K through newly added 56sts. Repeat on the other side (185sts)
Work on Linen stitch: *K1, Sl1 with yarn in front; repeat to the end.
Repeat 8 more rounds.
Bind off all stitches using the method used previously. Weave in all ends.
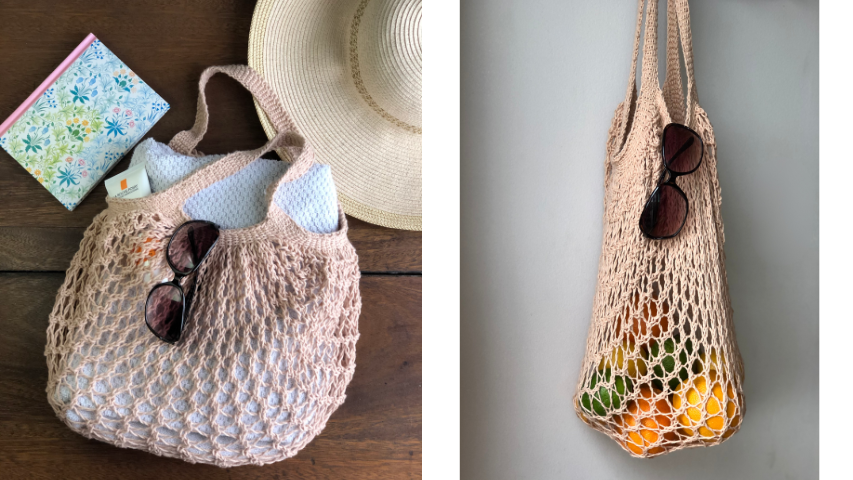
Enjoy using your very own market bag this summer!
If you enjoyed this free pattern, please buy me a coffee to support my work 😊 It will help me create more free knitting patterns and tutorials.
Please follow me on Instagram, Ravelry, and Pinterest to get updates! Also, join the Facebook or Ravelry group “Palmeri – LOVE to knit Group” to meet more knitters! I would be so grateful if you could share your finished projects on these platforms to spread the word💗